Patron Portal Walkthrough
The Equipment Room will be reopening on Monday, February 2
Spring 2026 Equipment Room hours: Monday - Friday, 9:30am - 5pm
1. Go to: https://barnard.webcheckout.net/sso/patron and log in with your (Columbia) UNI and password to continue. Login may require DUO multi-factor authentication.
(If you cannot log in, please make sure you have filled out a Patron Registration Form first and received confirmation from the Media Equipment Room team that your portal has been activated.)
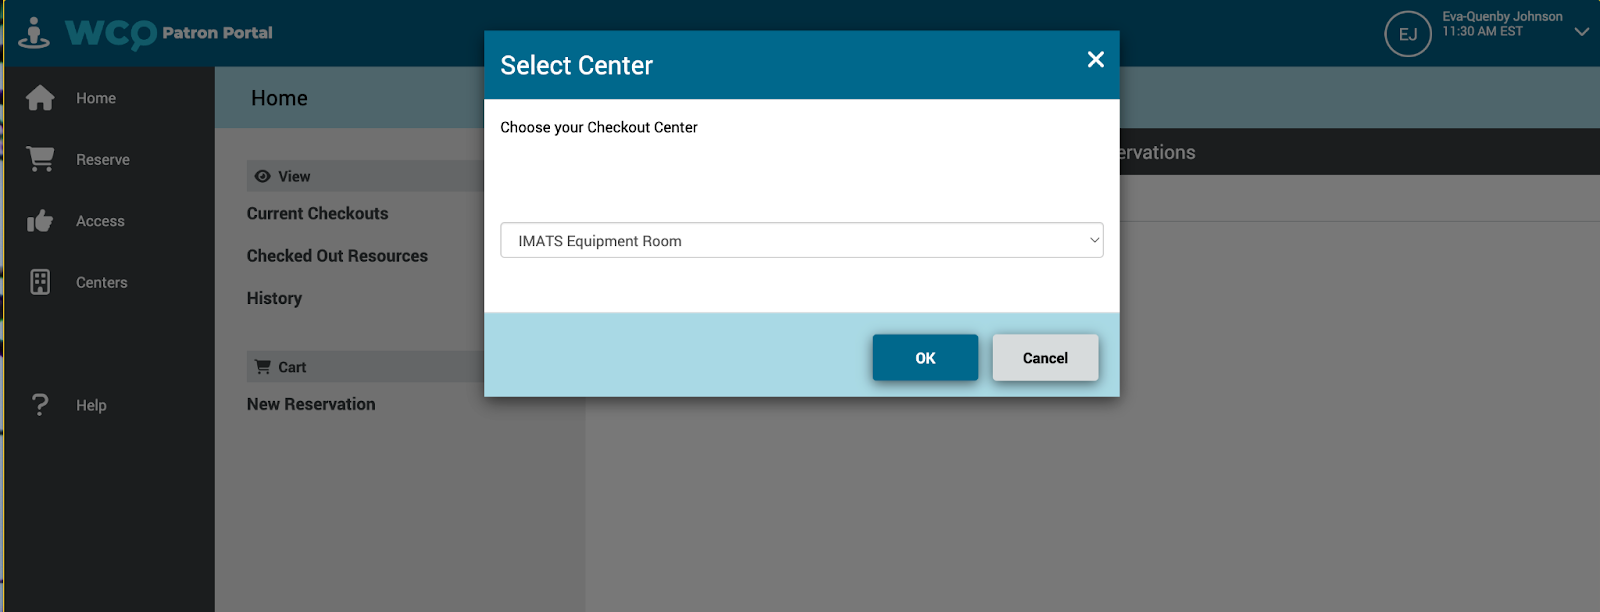
If prompted to choose a Checkout Center, select “Equipment Room” and click OK.
2. Here you can see any current or upcoming equipment checkouts.
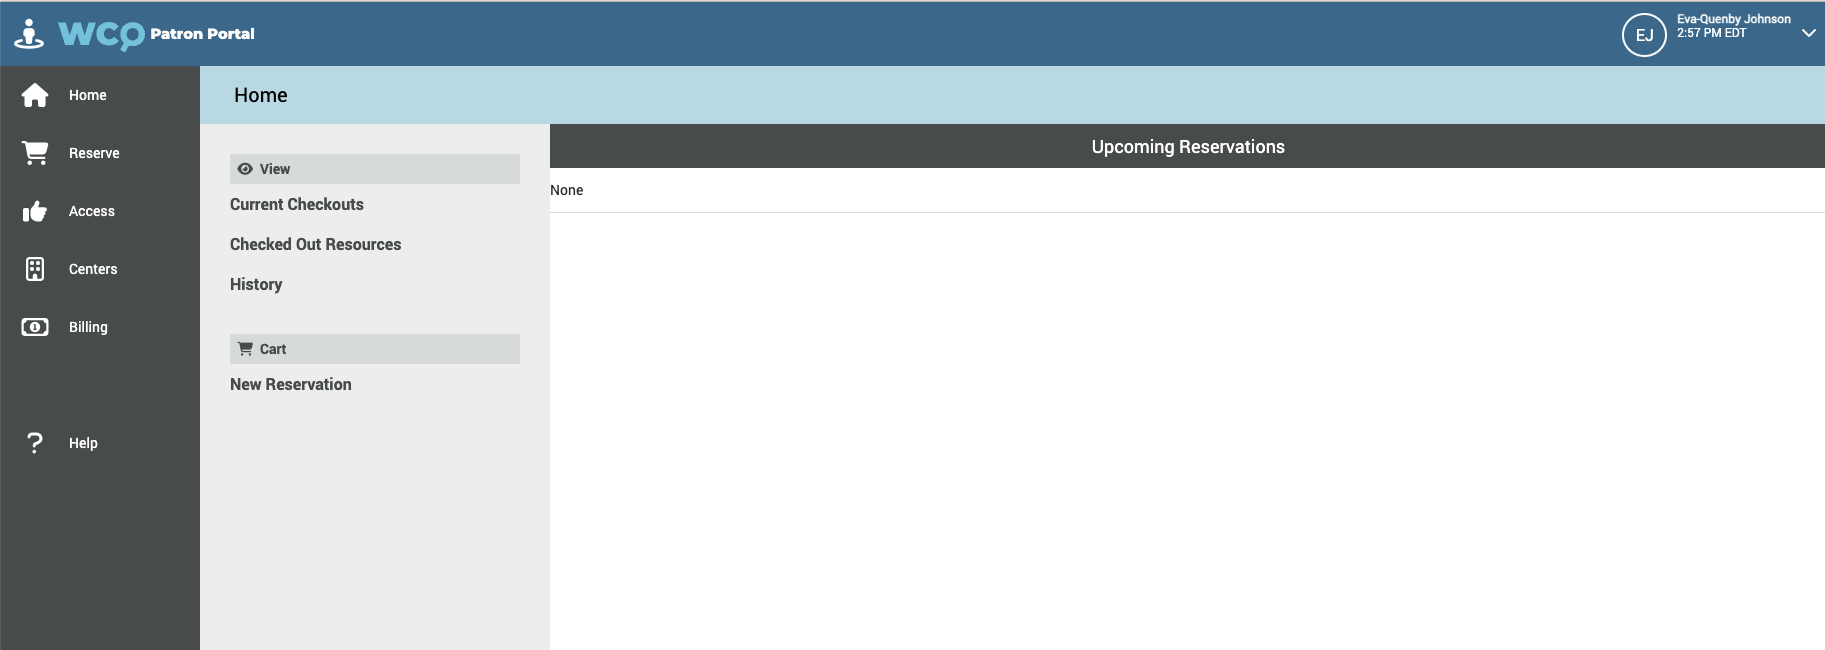
You can select “New Reservation” to create a new equipment reservation.
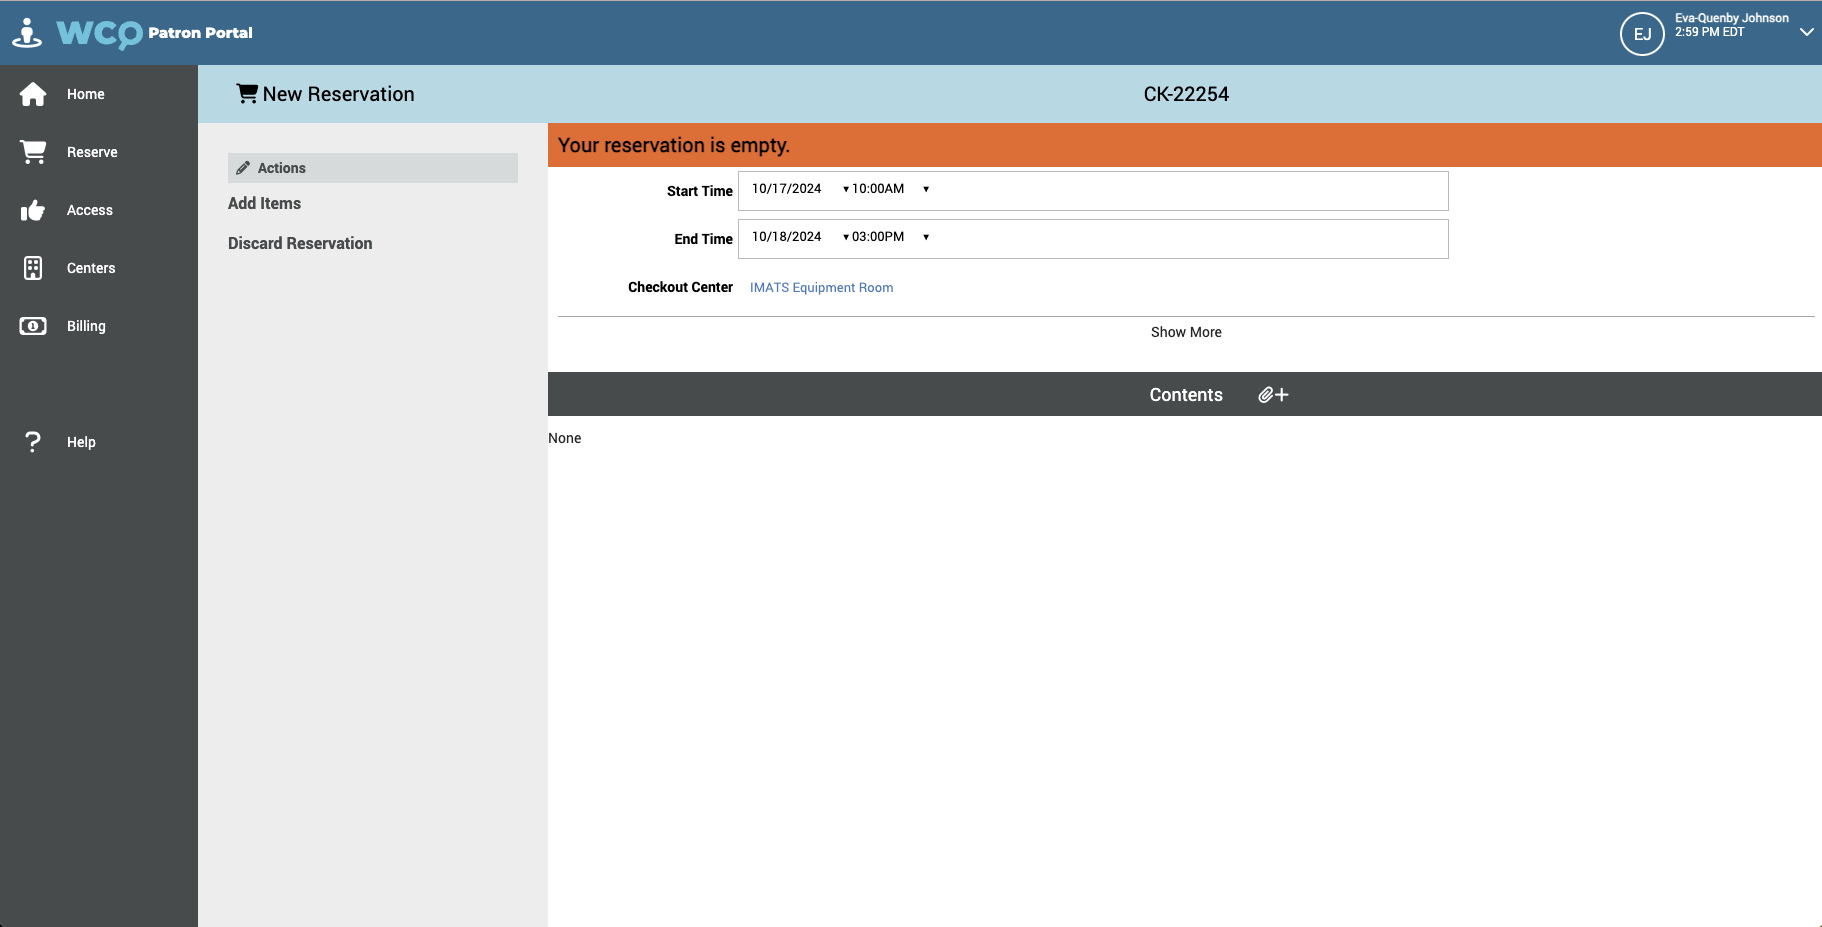
3. Click “Add Items” to begin adding items to your reservation. A horizontal catalog will appear with common equipment types that patrons request.

You can see the full catalog in nested list form by clicking the magnifying glass (search) icon. Now you can navigate via drop-down or by searching.

4. Using the drop-down menus or by typing to search, find any equipment type that you would like to reserve. Click “Add” on the far right side of any listed equipment item to add it to your cart. You can continue to search and add items to your reservation using the “Add Items” function or by continuing to search through the catalog.
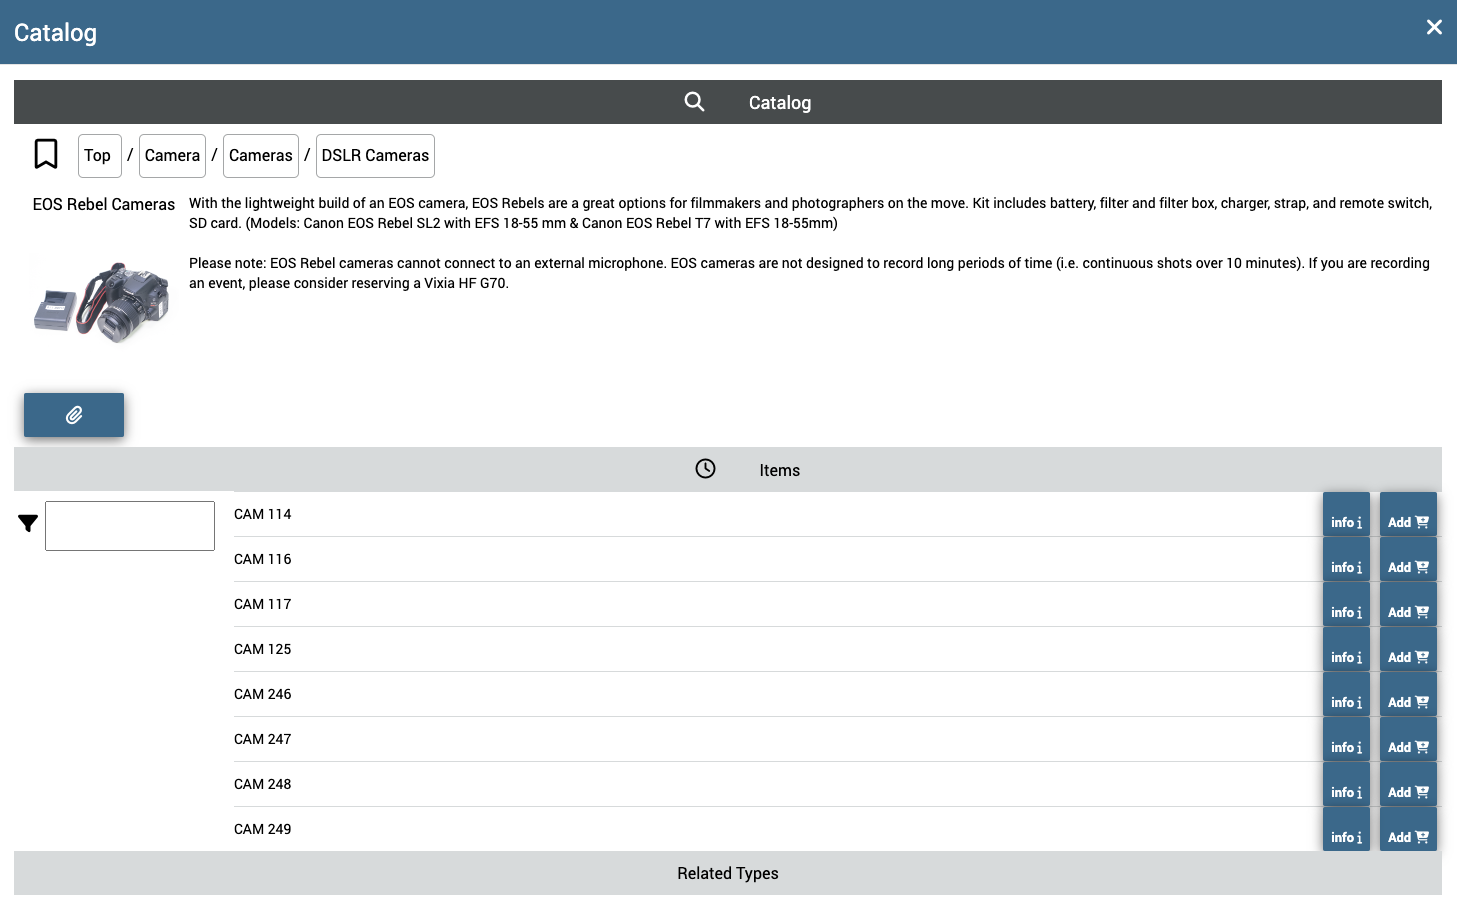
5. When you are done adding items, you can exit the catalog by clicking “X” in the upper right corner of the catalog window (don’t close your browser tab/window). Before you submit your reservation, double-check that you have selected a pick-up appointment and return time that works for you. We do accept early returns, but if you are more than two hours late to pick up your reservation, the portal will automatically cancel your reservation and IMATS will not be able to lend you the equipment.
You may encounter a red notice indicating that the specific item you selected is not available at your reservation time. Simply click “Check for Replacement” and then select any of the suggested replacement items. The portal will only suggest items to you that are the same type (i.e., an adapter that works the same as the one you selected, or the same specific model of camera that you wanted).
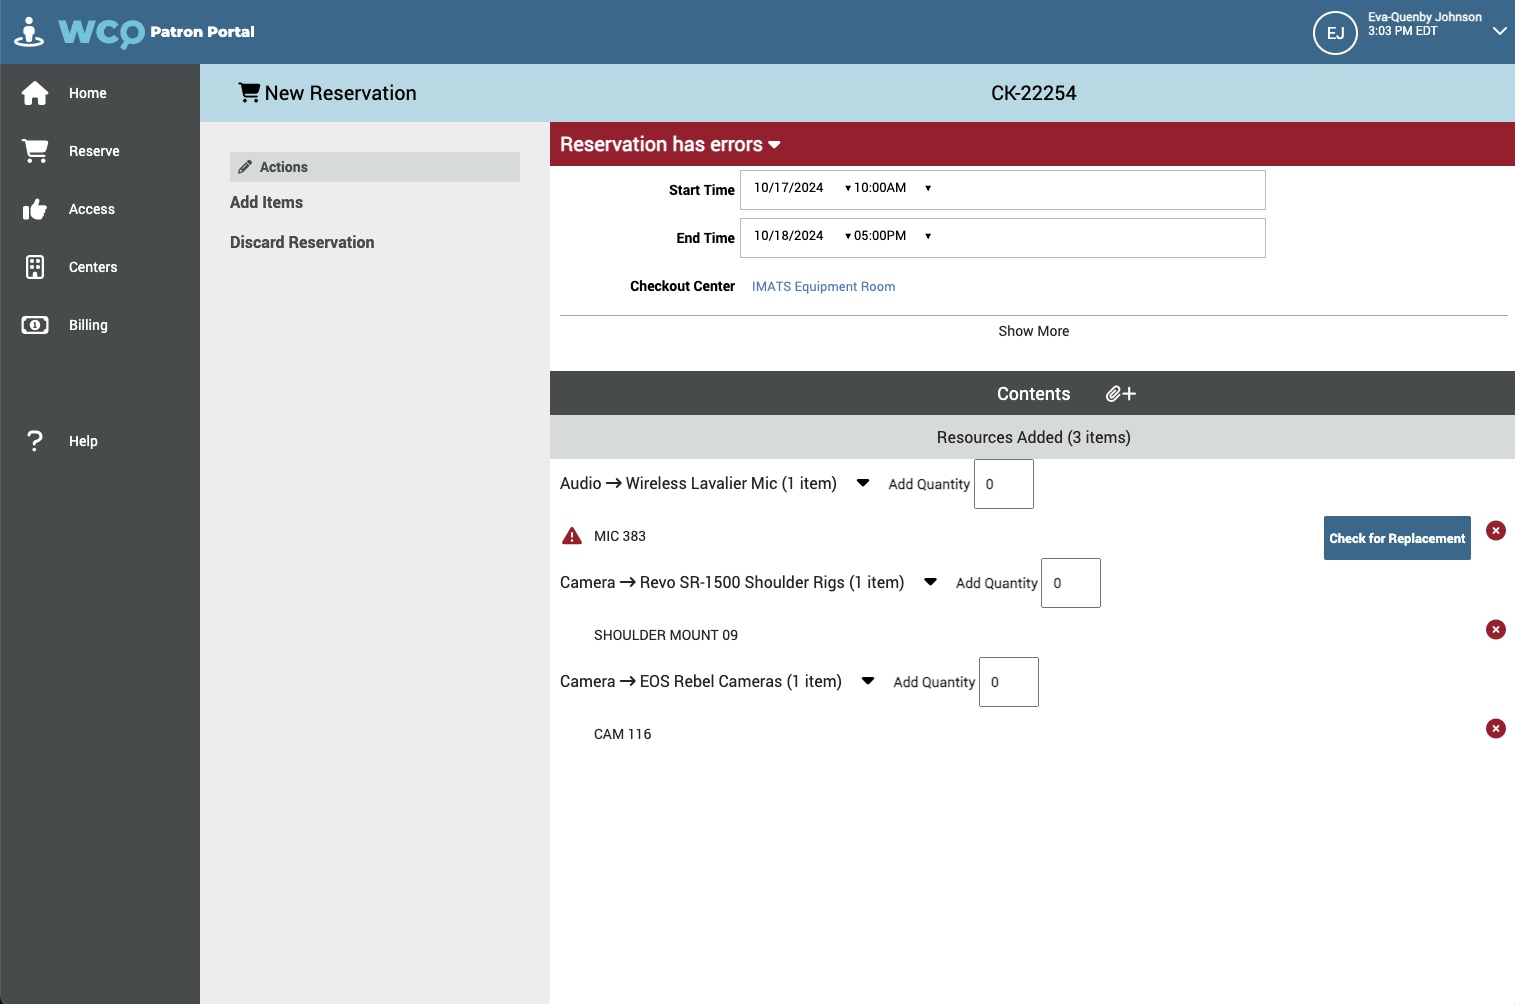
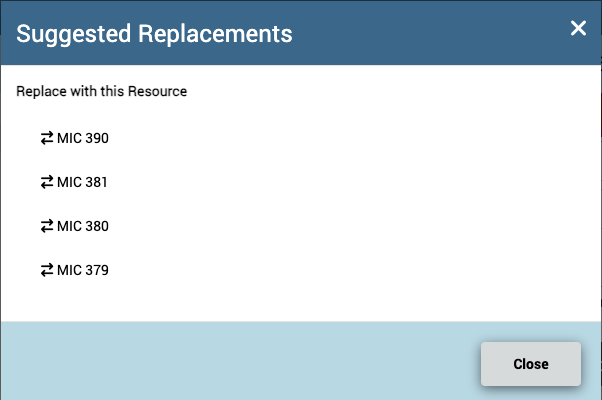
6. When you have finished adding your items and you have successfully substituted any replacement items, your reservation will display as “Ready to Save” in green.
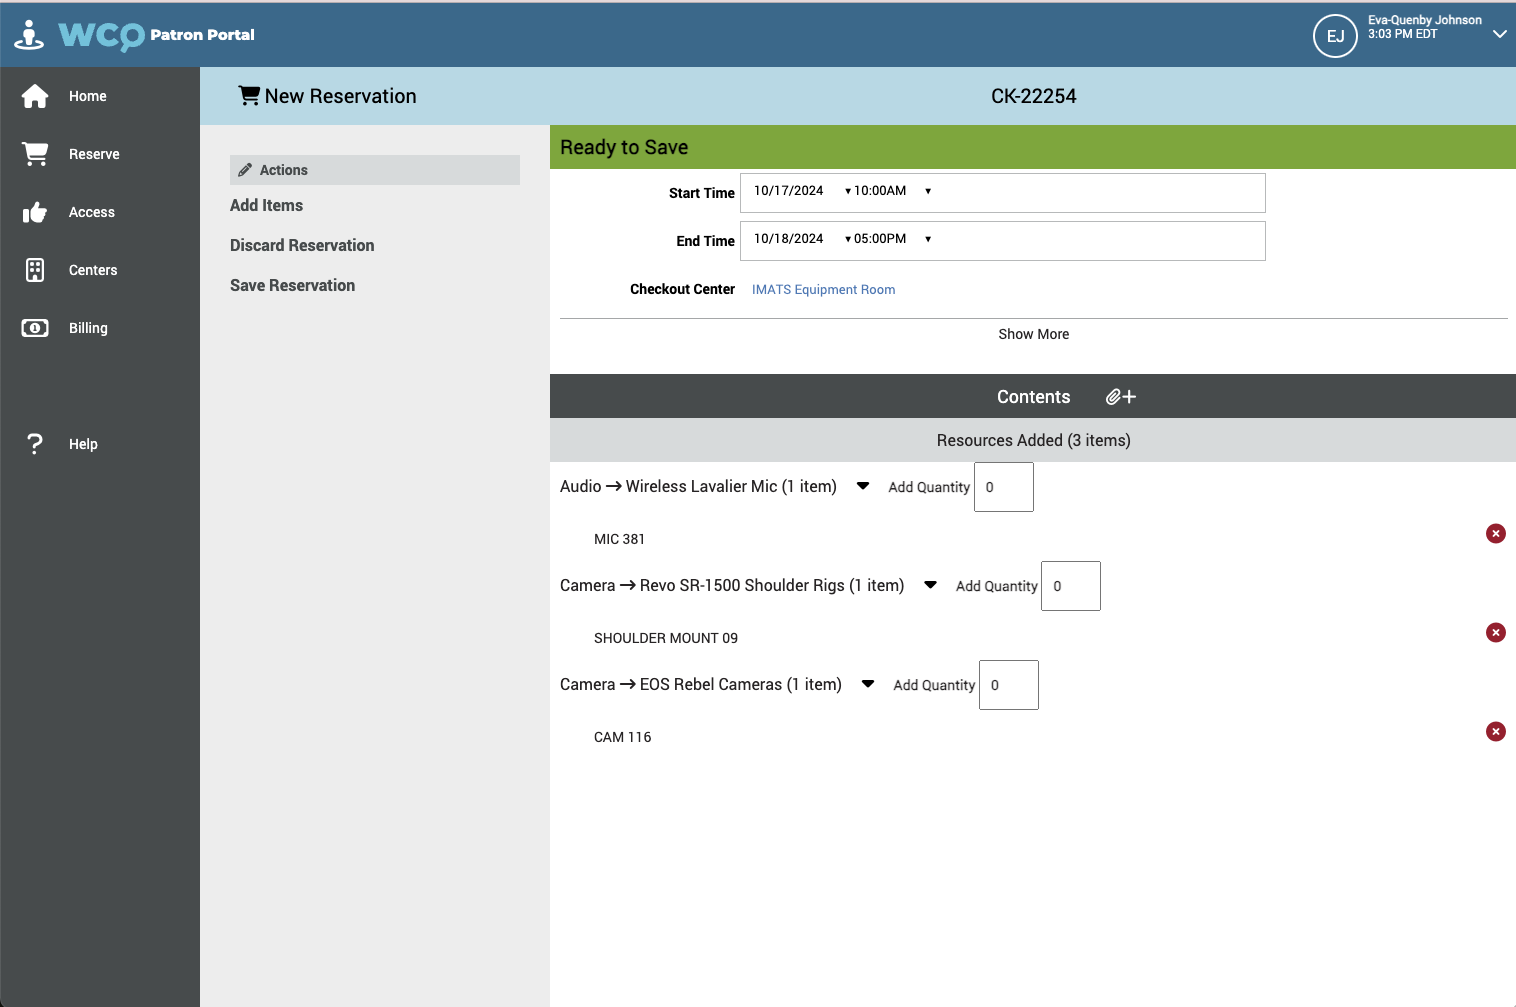
Click “Save Reservation” to submit your reservation to our team for approval. Your reservation should now display with an orange “Approval is Pending” message.
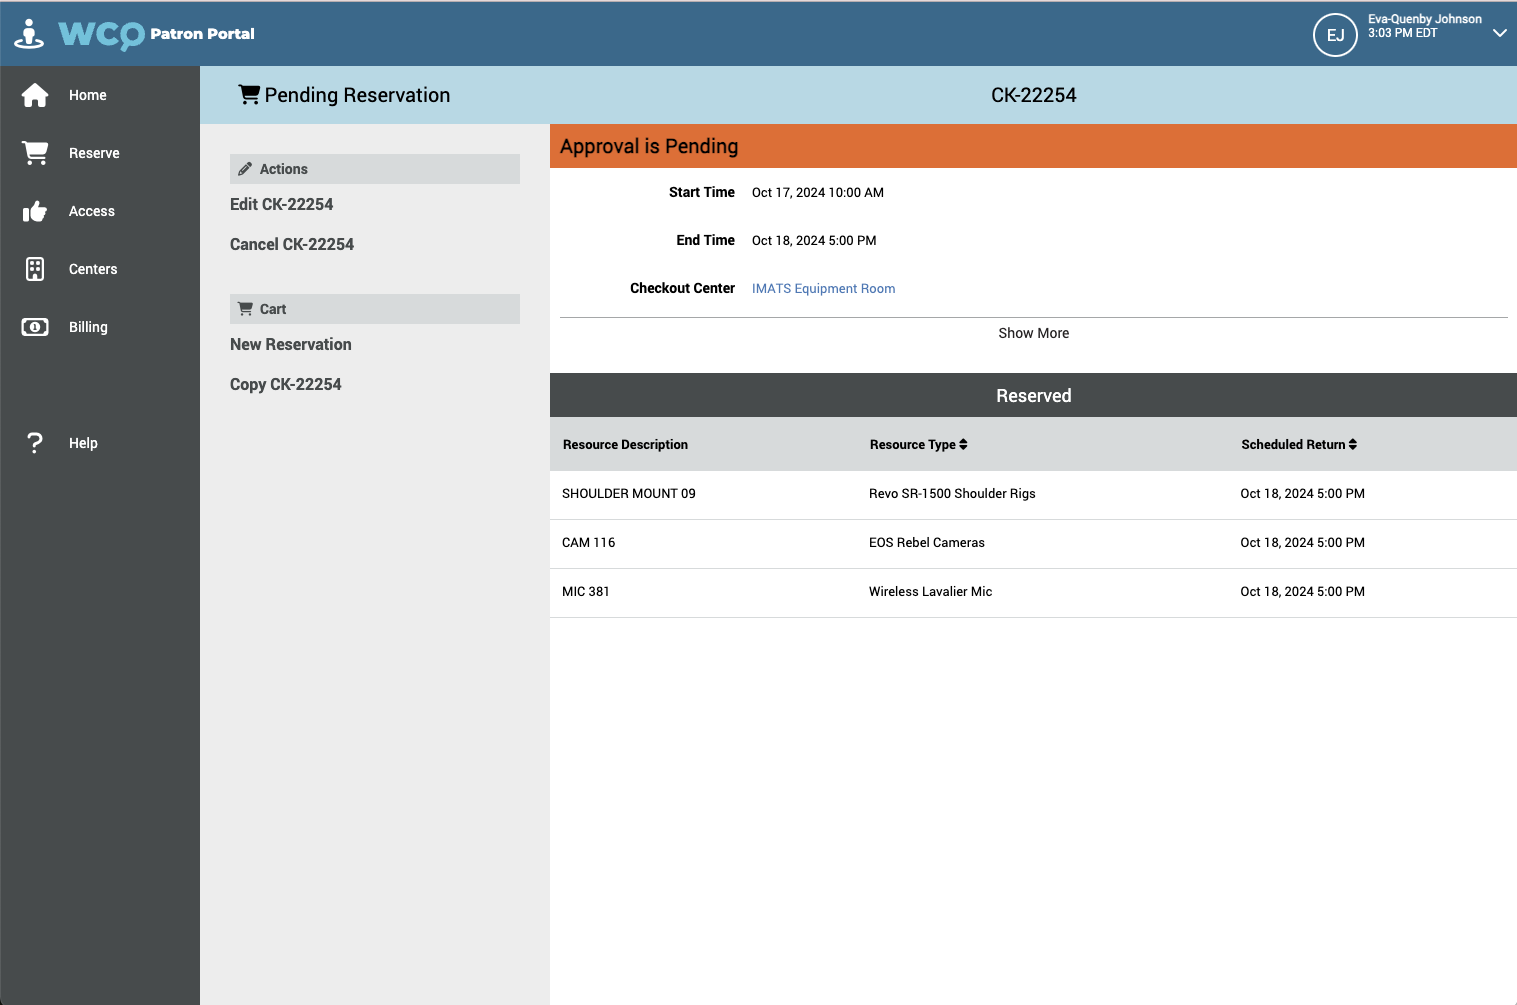
A member of the Media Equipment Room team will confirm with you via email when your reservation has been approved, or if there are any issues with your request. Please remember that we are only open during weekdays, so if you submit a reservation request on Friday night, you may not hear back from us until Monday morning.
Thank you, and good luck with your project!